- Node.js 菜鸟教程
- Node.js - 教程
- Node.js - 简介
- Node.js - 环境设置
- Node.js - 首次申请
- Node.js - REPL 终端
- Node.js - 命令行选项
- Node.js - 包管理器 (NPM)
- Node.js - 回调概念
- Node.js - 上传文件
- Node.js - 发送电子邮件
- Node.js - 活动
- Node.js - 事件循环
- Node.js - 事件发射器
- Node.js - 调试器
- Node.js - 全局对象
- Node.js - 控制台
- Node.js - 流程
- Node.js - 扩展应用程序
- Node.js - 包装
- Node.js - Express 框架
- Node.js - RESTful API
- Node.js - 缓冲器
- Node.js - Streams
- Node.js - 文件系统
- Node.js MySQL
- Node.js - MySQL 快速入门
- Node.js - MySQL创建数据库
- Node.js - MySQL创建表
- Node.js - MySQL Insert Into
- Node.js - MySQL Select From
- Node.js - MySQL Where 子句
- Node.js - MySQL Order By
- Node.js - MySQL Delete
- Node.js - MySQL Update
- Node.js - MySQL Join
- Node.js MongoDB
- Node.js - MongoDB 快速入门
- Node.js - MongoDB 创建数据库
- Node.js - MongoDB 创建集合
- Node.js - MongoDB Insert
- Node.js - MongoDB Find
- Node.js - MongoDB 查询
- Node.js - MongoDB 排序
- Node.js - MongoDB Delete
- Node.js - MongoDB Update
- Node.js - MongoDB Limit
- Node.js - MongoDB Join
- Node.js模块
- Node.js - 模块
- Node.js - 内置模块
- Node.js - utility 模块
- Node.js - Web 模块
Node.js - MySQL 快速入门
任何服务器端编程语言(如 Node.js)都需要根据其与客户端应用程序的交互,与后端数据库进行交互,以实现持久的数据存储和检索。MySQL是广泛使用的RDBMS软件。在本章中,我们将学习如何将 Node.js 应用程序与 MySQL 数据库连接。
MySQL是一个开源、跨平台的关系数据库管理系统,它使用SQL(结构化查询语言)来创建、修改和提取关系数据库中的表中的数据,以及控制用户对数据库的访问。MySQL还与操作系统配合使用,以实现关系数据库的管理功能,例如分配存储,管理用户,授予网络访问权限和创建备份。
MySQL安装
要将 MySQL 用作 Node.js 应用程序的后端,您必须在计算机上安装 MySQL。让我们学习如何在 Linux 和 Windows 上安装 MySQL。
在 Ubuntu Linux 上
使用此命令从 MySQL APT 存储库更新包信息 -
$ sudo apt-get update
通过以下命令安装MySQL -
$ sudo apt-get install mysql-server
这将安装 MySQL 服务器的包,以及客户端和数据库公共文件的包。
在安装过程中,系统会要求您为 MySQL 安装的 root 用户提供密码。
MySQL服务器在安装后会自动启动。您可以使用以下命令检查MySQL服务器的状态 -
$ systemctl status mysql
然后安装MySQL Workbench -
$ sudo apt-get install mysql-workbench-community
在 Windows 上
从链接下载适用于 Windows 的最新社区版 https://dev.mysql.com/downloads/mysql/
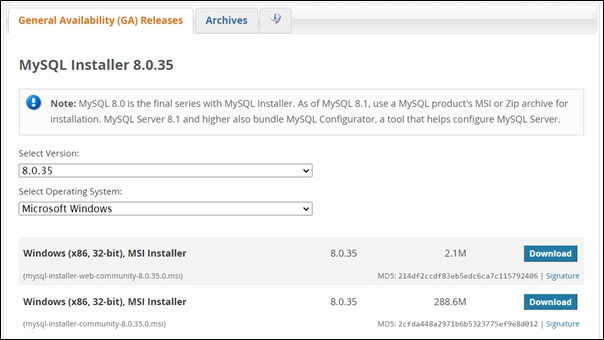
将下载 MSI 安装程序 (mysql-installer-community-8.0.35.0.msi)。双击安装向导以启动安装向导。
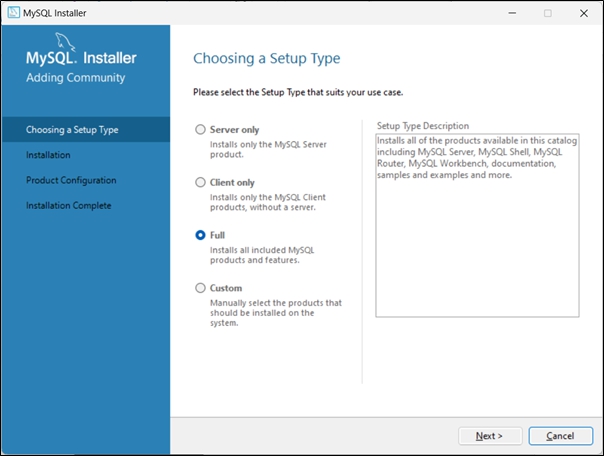
从下面的屏幕中选择“完整”设置类型 -
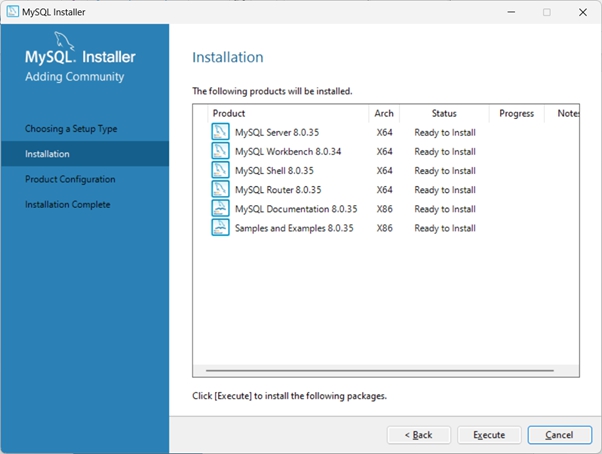
安装程序显示要安装的产品列表:
在安装过程中,选择一个合适的 root 密码,该密码既强又您可以记住。
这是安装向导的最后一步 -
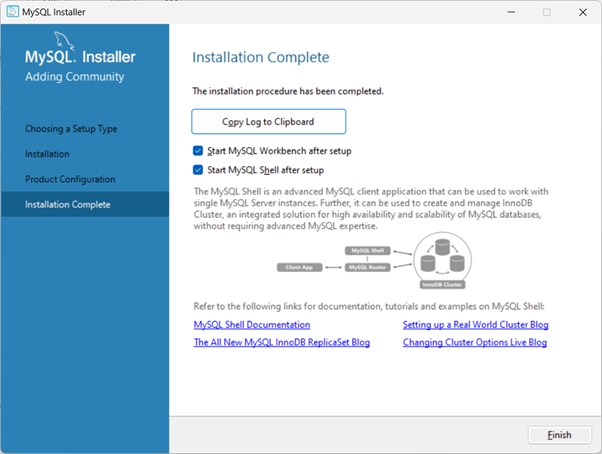
MySQL Workbench 现在将启动。它是 MySQL 的集成环境。它使用户能够以图形方式管理 MySQL 数据库并直观地设计数据库结构。
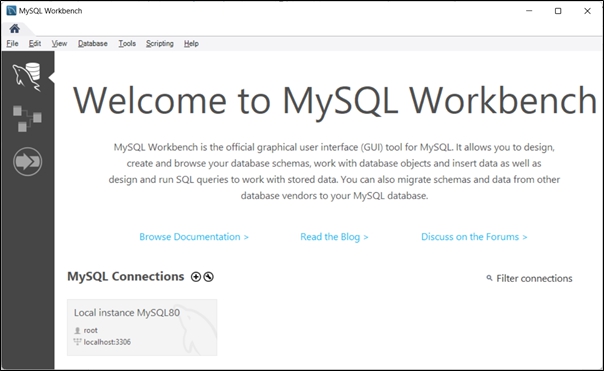
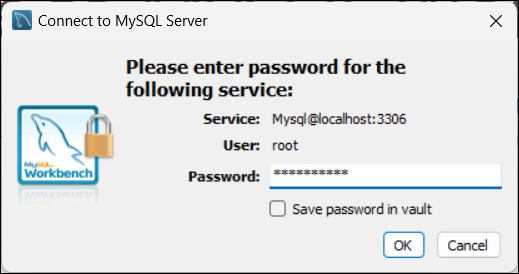
通过输入密码连接到您的计算机上运行的MySQL服务器 -
“架构”选项卡显示服务器上当前可用的数据库。
在安装过程中还会安装 MySQL 命令行客户端。当您启动它时,您将需要输入 root 密码。出现 mysql 提示符。现在,您可以在其前面输入任何MySQL命令。
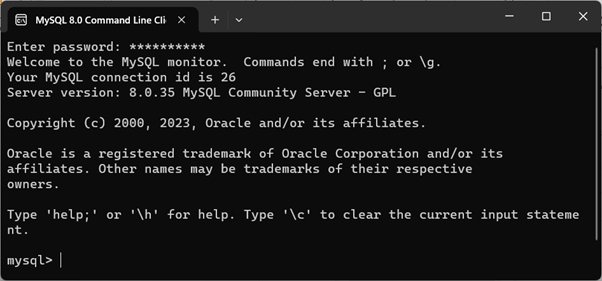
要列出所有数据库,请使用命令 show databases;
mysql> show databases;
+--------------------+
| Database |
+--------------------+
| information_schema |
| mysql |
| performance_schema |
| sakila |
| sys |
| world |
+--------------------+
6 rows in set (0.00 sec)
mysql>
您可以使用create database命令创建新数据库 -
mysql> create database mydb;
Query OK, 1 row affected (0.01 sec)
适用于 Node.js 的 MySQL 驱动程序
要使用 MySQL 数据库作为后端,您需要安装并包含来自 Node Package Manager (NPM) 的 MySQL 驱动程序。
NPM 仓库托管 mysql 模块,它是 mysql 的node.js驱动程序。它是用 JavaScript 编写的,不需要编译,并且 100% 获得 MIT 许可。
如果您已安装最新版本的 Node.js 运行时(V10 或更高版本),则 npm 已经可用。要安装 mysql 模块,请在命令终端中使用以下命令 -
注意 - MySQL的官方网站也提供了Connector/Node.js X DevAPI驱动。从版本 8.0 开始,MySQL 支持 NoSQL 文档存储。如果您打算使用 MySQL 的 NoSQL 功能,则尤其需要 Connector/Node.js 驱动程序。在本教程中,我们使用从 NPM 安装的 mysql 模块。
建立连接
第一步是通过以下require()语句在代码中导入mysql模块 -
var mysql = require('mysql');
此模块中的 createConnection() 函数使用作为参数提供的凭据并返回连接对象。
createConnection(connectionUri: string | mysql.ConnectionConfig): mysql.Connection
createConnection()函数最常见的用法如下:
var con = mysql.createConnection({
host: "localhost",
user: "root",
password: "mypassword"
});
您必须使用连接对象的 connect() 方法。
con.connect(function (err) {
if (err) throw err;
console.log("Connected!");
});
如果连接成功,您将在控制台中收到“已连接!